Printable Healthy Living Worksheets
Some of you may have printed these back in the fall, but I want to make them available to you again as a part of Project Simplify.
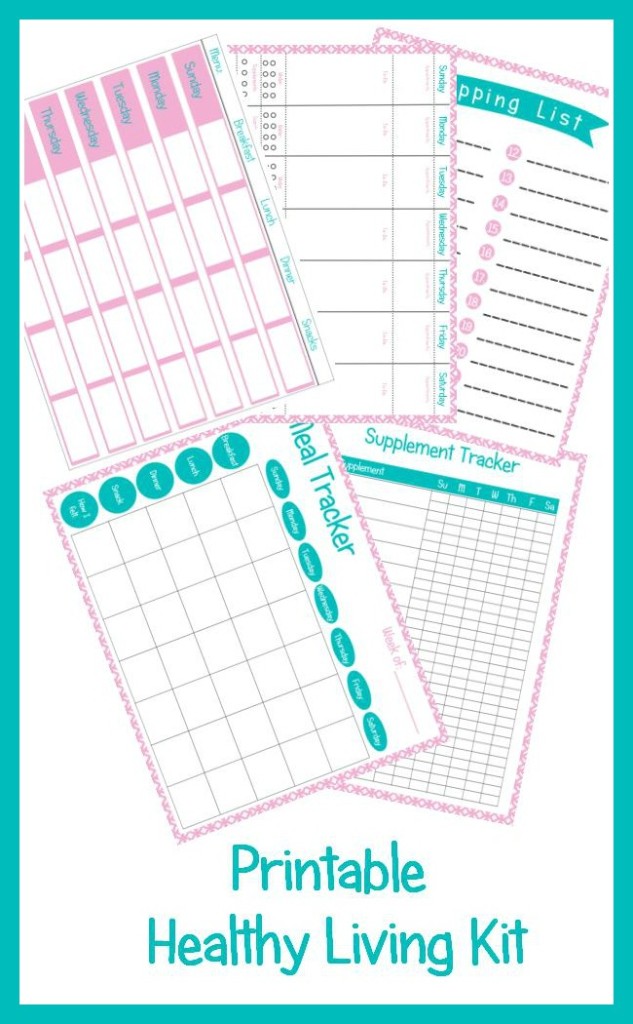 If you want to live a healthy lifestyle, you have to make it easy for yourself to do so. That takes planning, and I've put together some helpful worksheets to help you do that.
What you get:
Menu planner – plan out your meals and snacks ahead of time. You will be amazed how much time, money, and stress this will save you. 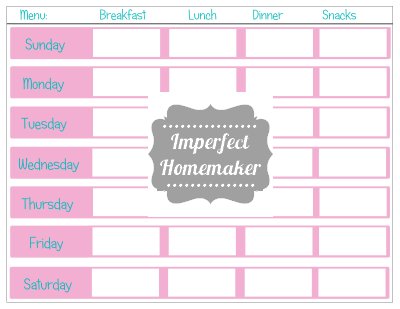
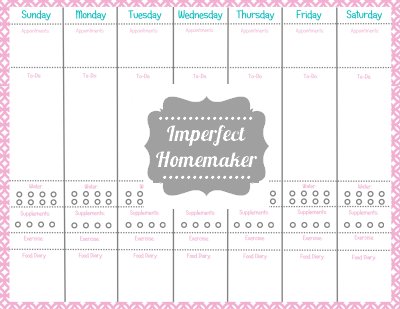
Daily Schedule – keep track of appointments and your to-do list. There are also places to mark off as you drink your water, exercise, and take your supplements, and a place for you to keep a food diary.
Shopping List – after you make your menu, add the ingredients you need to your shopping list.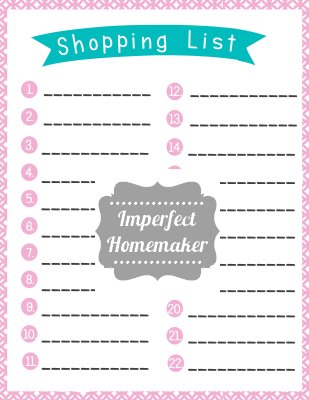
Meal Tracker – keep track of what you eat and how you feel. If you suspect food sensitivities or you're finding that you have low energy levels, you'll be able to narrow down what you're eating that makes you feel better or worse. (If you're needing more help overcoming fatigue, you'll want to check out my eBook, Farewell, Fatigue.)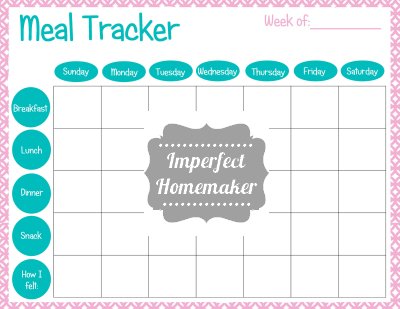
Supplement tracker – There are several supplements I take every day, and I can feel a noticeable difference in how I feel if I forget to take them. Remind yourself what you need to take and mark off when you've done that.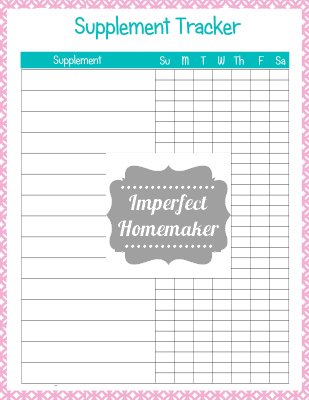
To get your printables, just enter your name and email address, and your pack will be delivered to your inbox. (Be sure to check your spam folder if you don't see it.)
*Please note: by entering your email address, you will be subscribed to an email newsletter with (very infrequent) updates whenever I have news that I think you'll really want to hear. Thanks for allowing me the opportunity to communicate with you!*
[wp_eStore_free_download_squeeze_form id=6]Crockpot White Chicken Chili
The following post is from guest contributor Andrea.
 I love cooking in the winter. I can cook and bake to my heart’s content without overheating the house. And I can make soup – a lot. We eat a lot of soups in the winter months. They are usually frugal to prepare. They are very filling and healthy. And most soup recipes make a lot, which means that I can cook once and get several meals out of the effort. I especially love soups that can be tossed into the crock-pot in the morning and then ladled into bowls at dinner time. One of my family’s favorite “soup” recipes is White Chicken chili. I first heard of this recipe from my friend Sarah. I have tweaked it a little until it is just the way my family loves it. It’s frugal, hearty, easy, and it makes a whole lot. I hope you enjoy it as much as we do!
This isn’t a true white chili because it calls for black beans instead of white beans. You can choose to use canned ingredients and a store-bought spice mix to make it really fast, or prep the ingredients yourself. I prefer to cook dry beans. I cook up a whole bag and then freeze it in 2-cup portions. For this recipe I use two of my pre-portioned bags. You can buy a white chicken chili seasoning packet, or just mix up some spices at home (for much less money!).
White Chicken Chili
2 cans of corn (or about 4 cups of frozen corn) (do not drain)
4 cups cooked black beans (if using canned beans, do not drain. If using cooked dry beans, add about ¼-1/3 cup water)
2 chicken breasts
1 tsp. garlic powder
Sprinkle crushed red peppers
1 tsp. cumin
½ tsp. oregano
Pinch cayenne
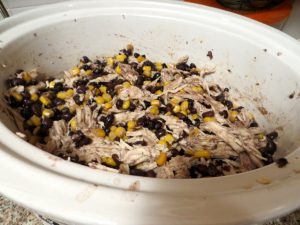
Combine first three ingredients in crockpot. I often throw the chicken in straight from the freezer, but you can thaw it first. Combine spices and sprinkle over the top. Cook on low 6-8 hours. Before serving, remove chicken from crockpot and shred with two forks. Return chicken to crockpot and mix to blend all seasonings. Serve over rice or tortilla chips, with a dollop of sour cream and shredded cheddar cheese! (My husband likes his with a big helping of Tabasco sauce too).
Easy Homemade Peanut Butter Cups
You all know I love me some chocolate. But I really try to stay off the sugar.
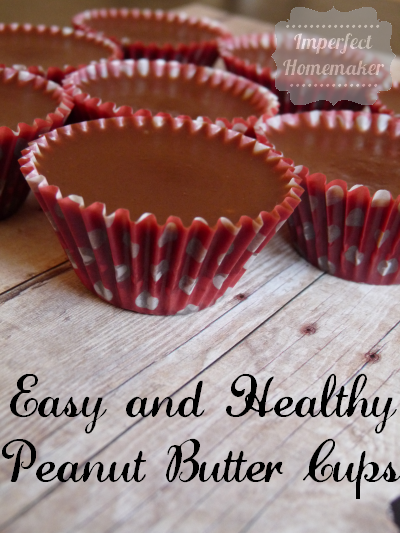
These homemade peanut butter cups are one of my favorite healthy treats!
And what I love about them is that they are so easy to make – no melting down the chocolate and trying to coat the peanut butter mixture like so many other recipes for homemade peanut butter cups. Nope. Just mix it all up and you're done. 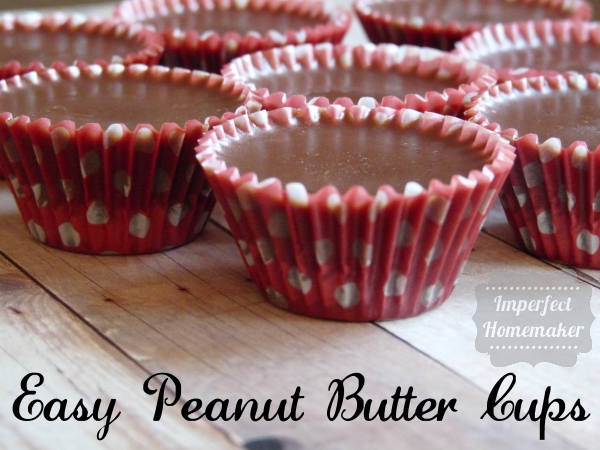 So I'll stop talking and just give you the recipe:
In a small saucepan, melt together
1/2 cup peanut butter
1/2 cup coconut oil (Tropical Traditions is my favorite, but sometimes I get the inexpensive stuff from Vitacost.)
1/4 cup raw honey (Tropical Traditions is my favorite, but local honey is awesome too!)
Whisk in
1/4 cup raw cacao powder (or cocoa powder) (I get raw cacao very inexpensively through Vitacost. Get a $10 off $30 coupon when you sign up through my referral link. Or get it here if you already have an account.)
Note: I used the natural peanut butter from Aldi, which has some molasses added to it. If you're using unsweetened peanut butter, you may want to add a little more honey.
Spoon into mini muffin liners and freeze until hardened. Keep frozen or refrigerated until served.
Easy Sandwich Buns
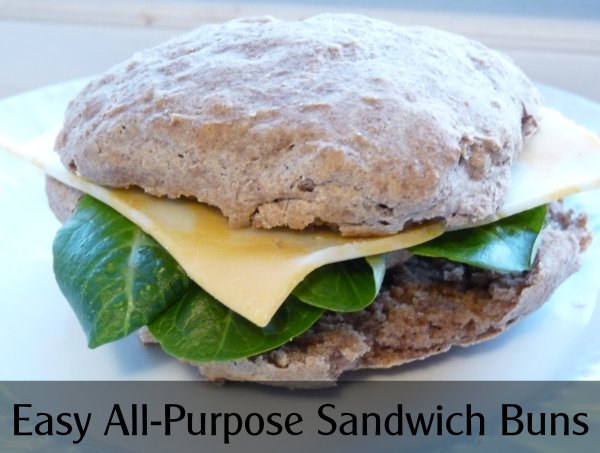
I'm over at The Grain Mill Wagon today, sharing an easy, all-purpose recipe for sandwich buns, biscuits, or whatever you need some type of bread for!
Get the recipe here. (Thanks to my sis-in-law, Lauren, for the original recipe!)
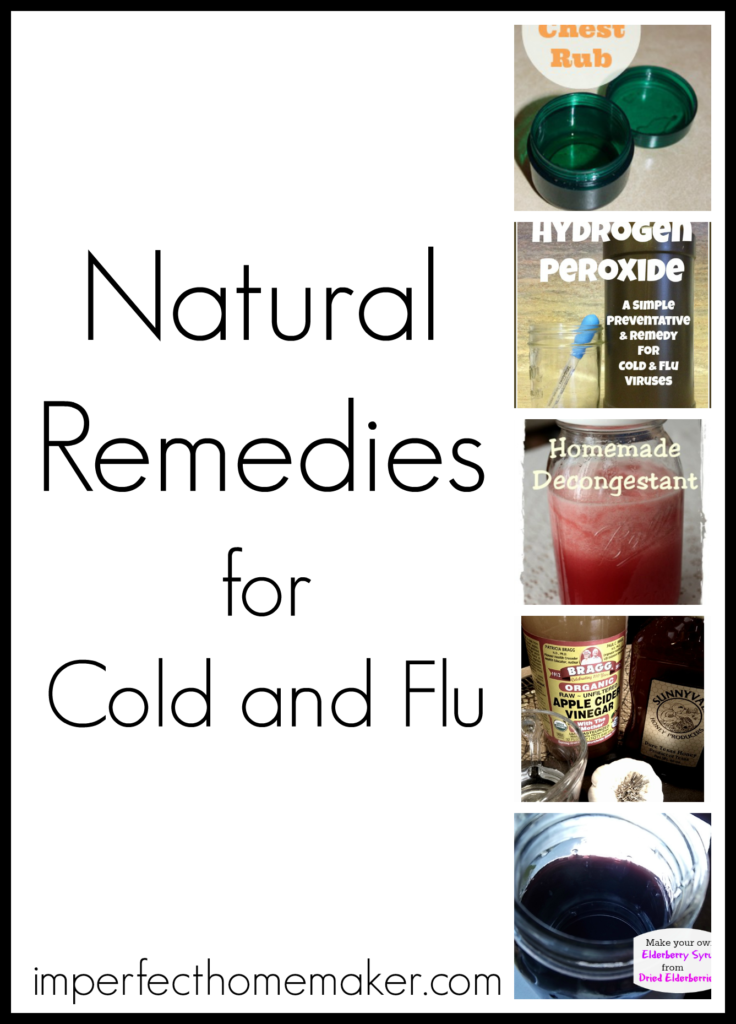
Natural Remedies for Cold and Flu
If you're needing some natural remedies for cold and flu, look no further!
(I hope you don't need them, but if you do happen to be sick, these should help you get feeling better in a jiffy!)
Kara from Home With Purpose uses Hydrogen Peroxide for cold and flu.
Shannon from Simply Smiles uses this Winter Wellness Elixir when she feels any kind of sickness coming on.
Whitney from Beauty in the Mess shares 10 different remedies for cold and flu, including her favorite essential oils.
This Homemade Decongestant from the Titus 2 Homemaker includes radishes, red onion and cloves.
Whole New Mom shows how she makes her own saline nose wash and homemade vapor rub.
The Homesteading Hippy made her own Elderberry Syrup as well as a different version of decongestant rub.
Jennifer from The Entwife's Journal came up with a different variation of homemade Elderberry Syrup.
Grassfed Mama's favorite ways to treat a cold include various essential oils, herbs, and a few other things.
Modern Wellness has a post on fighting the flu with essential oils.
Crunchy Savings shares her recipe for garlic cough syrup.
Better than natural cold and flu remedies, though, is prevention! Visit Faith Filled Food for Moms to find 10 Ways to Naturally Boost Your Immune System.
What are your favorite natural cold and flu remedies?
How to Make a Stainless Steel Pan Non-Stick
I haven't fully done the research myself, but I've always been of the understanding that non-stick pans contain harmful chemicals that emit toxic fumes when you cook and that can leach into your food.
For that reason, I try to avoid cooking with non-stick pans. But it can definitely be a pain to scrape eggs or other meals off a stainless steel pan.
I set out to find out how to make a stainless steel pan non-stick, and I can't believe it was so easy!
1. Heat your pan over medium-high heat for 2-3 minutes.
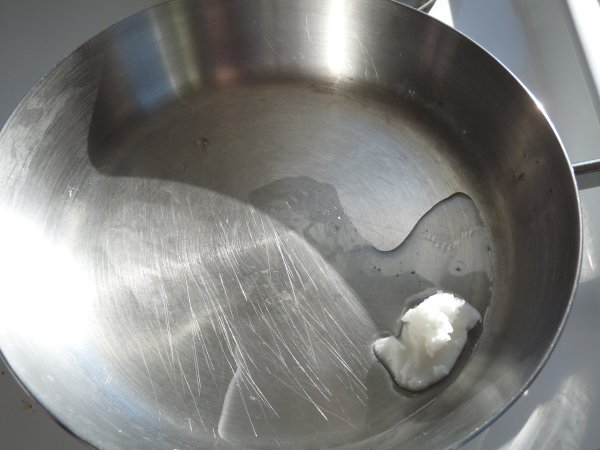
2. Add a glob of coconut oil and heat until it smokes. Make sure to spread it around the entire surface of the pan.
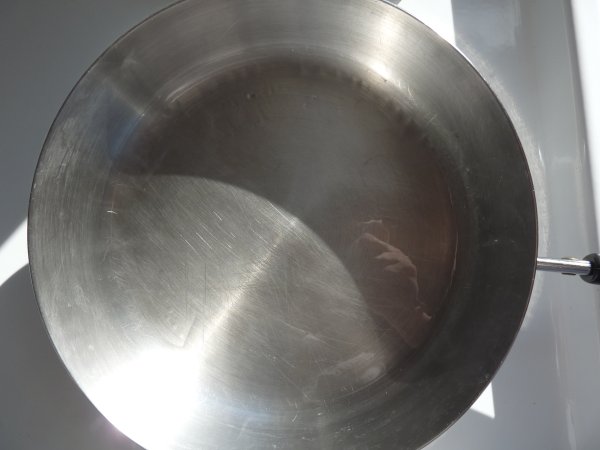
3. Make sure you can see your reflection in the pan. (You can see my hand taking the picture in the right hand side of the picture below.)
4. Allow the pan to cool completely, then wipe out the coconut oil residue with a paper towel.
5. You can now cook on your pan without using any butter or oil!
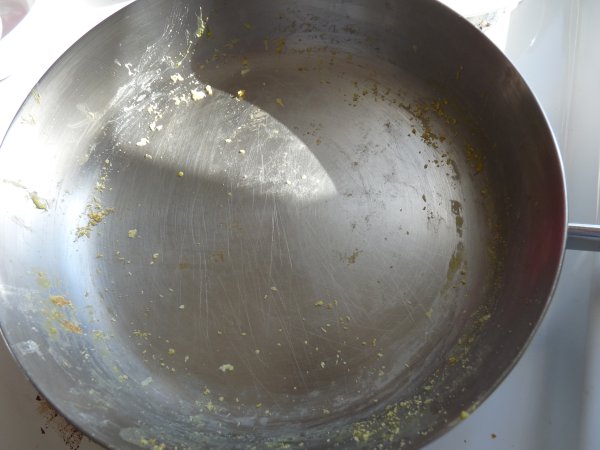
The picture below shows the pan after I cooked eggs in it without using any butter or oil. All that is left in the pan are loose crumbs. (There was a tiny bit stuck to the pan that scraped right off with the spatula. That is what the crumbs are from.)
Don't heat your pan too hot or it is possible that your eggs will still stick somewhat. I cooked mine on medium-high on an electric stove.
I don't know how long the pan will remain non-stick — I plan to update the post after a while and let you know how it's holding up. But even if it has to be re-treated every once in a while it wouldn't be a big deal.
Have you ever turned your stainless steel pans into non-stick pans? How did it hold up for you?

