DIY Valentine’s Day Vases
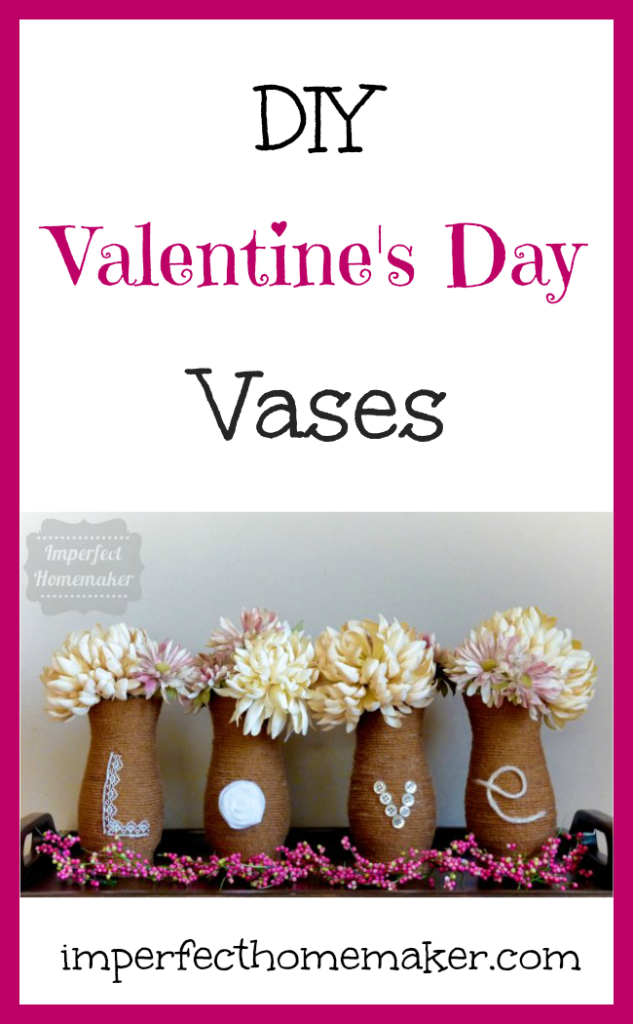
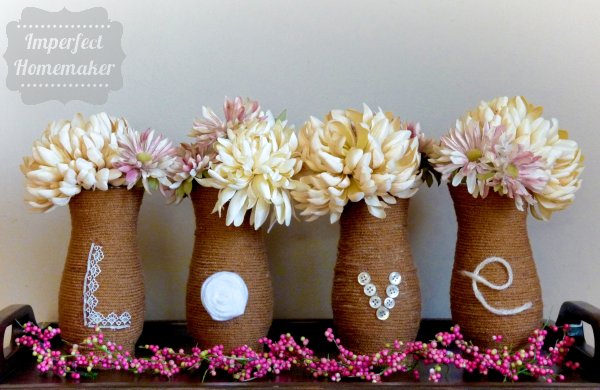
Since Valentine's Day is quickly approaching, I decided to turn my winter vase into a collection of Valentine's Day Vases.
I took 4 of these vases from Dollar Tree and applied fabric glue with a paint brush. Then I wrapped some brown yarn around them until they were covered.
I used various white or off-white items from around the house to spell out the word “LOVE” – a piece of lace, a felt rosette (here's a tutorial), buttons, and a piece of white yarn.
And there you have it.
And now, my dear readers. Here's a question I have for you.
I have no idea what I'm doing when it comes to filling vases. And, to further add to my problem, my decorating budget is $0. I have to use what I have around the house. And in this case, these are the only flowers I had that were white or pink, or any sort of Valentine-y colors. So, do you have any ideas for how to fill the vases using only these flowers or things I could find outside? I'm no good at this. Help!
Pretty Winter Vase
 I just recently found out about the Dollar Tree Value Seeker's Club through a friend’s blog. She had done the cutest craft that she found on there.
After my Christmas decorations came down, I knew I wanted to make something to make my house look pretty for the rest of the winter. The Dollar Tree Value Seeker's Club was the perfect place to look! The free club has new ideas every month that you can print and take with you to the Dollar Tree as a shopping list. They had some great ideas for January, so I was really excited to have the opportunity to create one of their projects as part of a sponsored campaign.
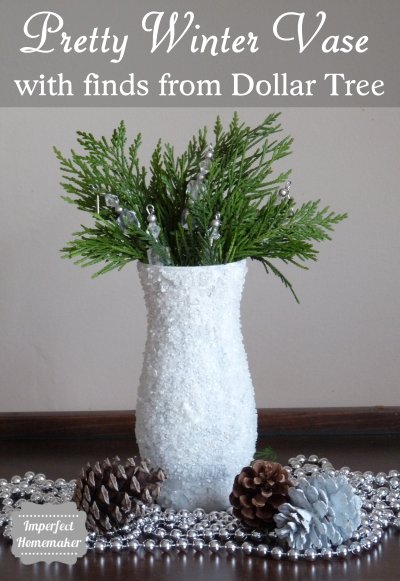
I decided to make a pretty winter vase. I figured it wouldn’t be too hard, and I knew I could find some fillers for it out of my backyard. I headed to Dollar Tree and found this vase that was a nice shape, brought it home, and got to work using the instructions on the Dollar Tree Value Seeker's Club website. 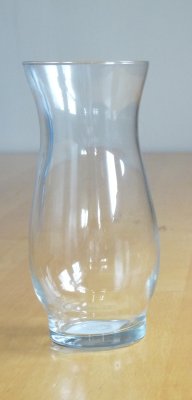
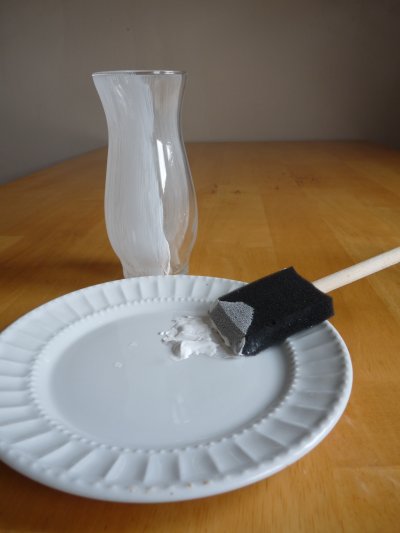
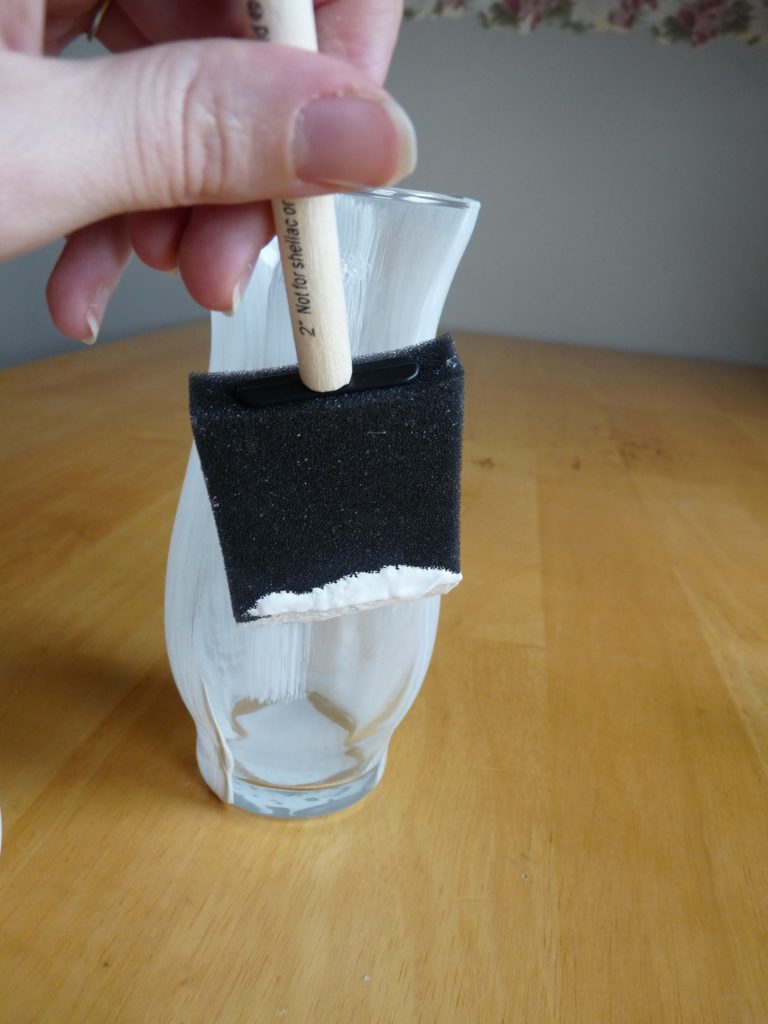
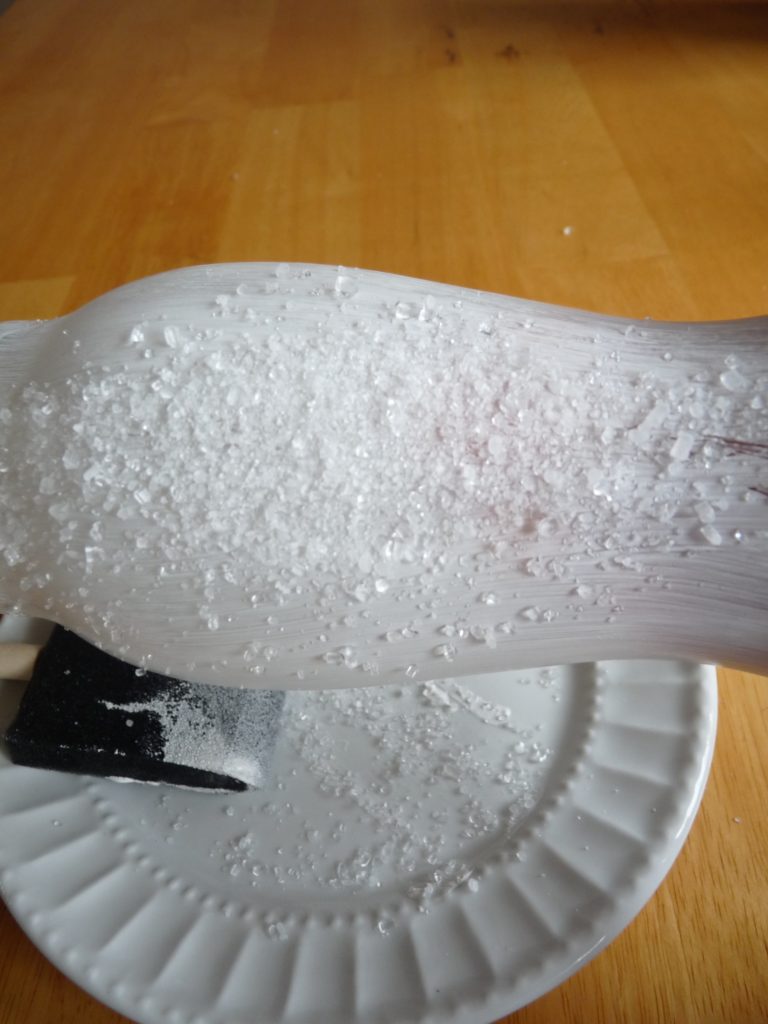
I was so excited that this project went so quickly and easily – I am the queen of finding ways to mess things up and make them take forever! And all I needed was my vase, white paint, white glue, and Epsom salts. I painted the vase white,
let it dry (sort of – I’m a little impatient), then coated it with glue
and applied the Epsom salts. So easy, but pretty! The only thing I did differently from the instructions on the website was instead of rolling the vase in the Epsom salt, I ended up sprinkling it on after I applied the glue. I found that rolling the vase in the salt was scratching the paint off of it. That may have been because I was too impatient to let it dry well enough. But sprinkling it on went very fast, and I had complete control over getting it exactly where I wanted it, so I was fine with doing it that way.
I am so happy with how this project turned out, and I’m enjoying having my house a little less dreary for the rest of the winter.
 Be sure to sign up for the Dollar Tree Value Seeker's Club for access to the instructions for this project and lots more like it! I already bought the supplies for another easy decoration that I plan to make for my bedroom.
What project do you think you would like to try first?
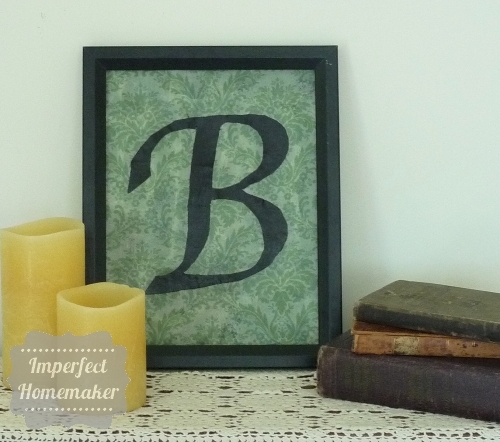
Framed Fabric Monogram
Disclosure: The materials for this Framed Fabric Monogram as well as compensation for this post were provided by Martha Stewart/Plaid Crafts and Blueprint Social.
You all may know by now that I'm not the most artistic person in the world. However, I still enjoy beautiful things and crafts as much as any other woman. It's just that anything I do has to be pretty much dummy-proof or I will find some way to mess it up!
When I found out that I would have the opportunity to try out items from the Martha Stewart Decoupage line, I immediately thought of an easy project that even someone like me could complete.
First, here are all the goodies I recieved:
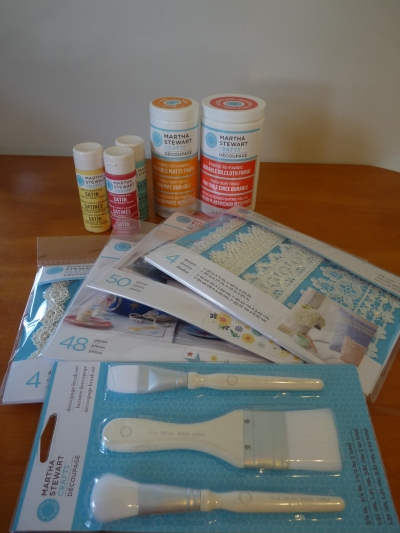 There were so many craft possibilities with all of the lace trims, fabric cutouts, and different finishes of decoupage. All of the Martha Stewart decoupage products are available at Michael's.
The supplies I used for this craft were:
- Martha Stewart fabric-to-fabric decoupage (I used the matte finish)
- Martha Stewart decoupage brushes
- Fabric of choice (I used a sheet I found at the thrift store)
- Card stock
- Picture frame
Here's how I did it:
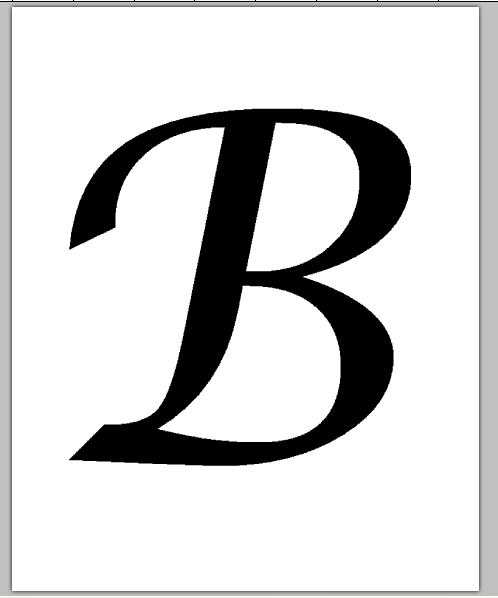
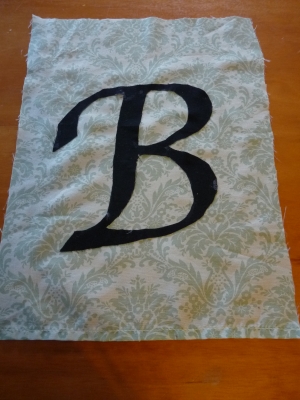
First, I found a font that I liked and printed it off on the computer.
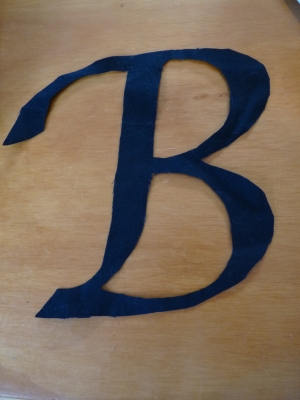
I cut it out and used it as a template to cut out an identical piece of black fabric.
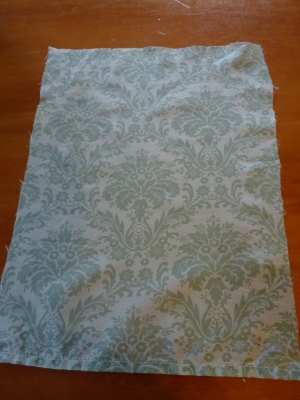
Next I used a piece of card stock as a template to cut my base fabric the right size.
I applied a layer of decoupage on the back of the monogram and adhered it to the center of my base fabric.
Then I applied several coats of decoupage over top of the whole thing to seal it. I did this several times, giving it a couple hours of drying time in between.
Finally, I adhered the entire thing to a piece of card stock and stuck it in a frame. I opted to leave it without the glass so that the texture of the fabric could be more prominently displayed. (By the way, this is a great way to use thrift store frames that are missing their glass!)
That was it! Done quickly and easily! If I can do it, anyone can!
Be sure to follow Plaid for lots more ideas:
Blog :: Facebook :: Twitter :: Pinterest
You can also check out what other bloggers are doing with the Martha Decoupage products:
DIY: Scripture Conversation Hearts!
Those of you that have read my blog in past years know that I am no fan of Valentines day. I know, ba humbug, right? It is just not my favorite holiday! But while I mutter things under my breath like “February is the Monday of months,” this time of year usually finds me doing Valentines Day-related projects, anyway. {go figure!}
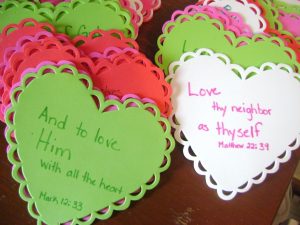
I normally try to do a little project to include in the decor for our church’s Valentines banquet. (You can see past projects here) This year is no exception…I created some of my very own conversation hearts to fit the theme of the evening!
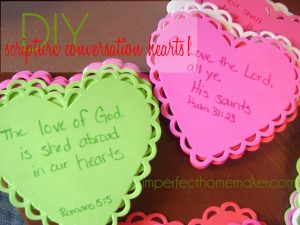
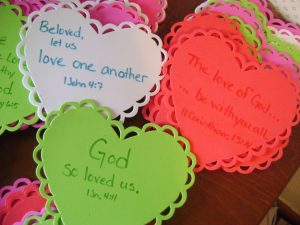
This was a super easy project, but I am excited about the color it will bring to the banquet tables, plus the truths of the scripture messages as a reminder of the Love of God!
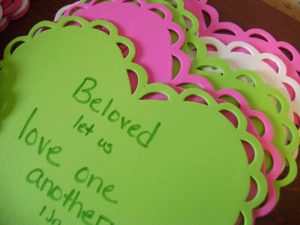
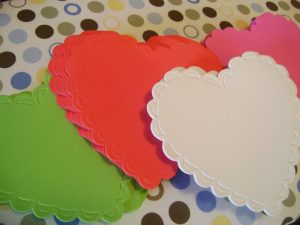
I just picked up a package of scalloped foam hearts from our local dollar store.
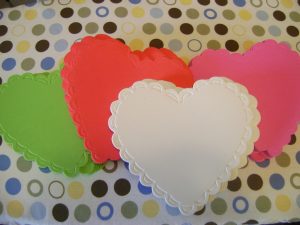
I got the scalloped ones because they had the brightest colors, and I was looking to make these similar to the real thing.
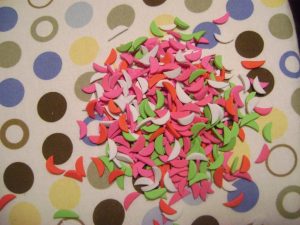
Then I got to work punching out the middles of the scallops. Random side note: if they went to the trouble to punch those, why couldn’t they have just poked them out at the same time???
I found lots of verses that talked about the love of God for us, our love for God, and a few about our love for each other. I also tried to use verses that could be shortened easily, without losing the message of God’s love that I was trying to get across.
Deuteronomy 6:5 …thou shalt love the Lord thy God with all thine heart…
Deuteronomy 11:1 Therefore thou shalt love the LORD thy God…
Joshua 22:5 ..take diligent heed… to love the Lord your God…
Psalm 18:1 I will love thee, O LORD, my strength.
Psalm 31:23 O love the Lord, all ye his saints….
Psalm 146:8 …the Lord loveth the righteous.
Jeremiah 31:3 …I have loved thee with an everlasting love…
Matthew 22:39 …love thy neighbor as thyself.
Mark 12:33 And to love him with all the heart…
John 3:16 God so loved the world…
John 15:9 …continue ye in my love.
Romans 5:5 …the love of God is shed abroad in our hearts…
I Corinthians 13:4 Charity…is kind…
I Corinthians 13:8 Charity never faileth…
II Corinthians 13:14 …the love of God…be with you all…
I Peter 1:22 …see that ye love one another…
I John 3:16 Hereby perceive we the love of God…
I John 4:7 Beloved, let us love one another…
I John 4:11 …God so loved us…
I John 4:16 …God is love…
I John 4:19 We love Him, because He first loved us.
Jude 21 Keep yourselves in the love of God…
It was a bit time consuming, but not nearly as bad as it could have been if I had chosen to cut out paper hearts! (which is normally what I end up doing to myself, haha!) I just used a Sharpie to write the words, and it worked great. The foam was very easy to write on, and doesn't bleed through, so these could be used again on the other side!
I don't have the prettiest handwriting, but I just did my best and tried to make each one look nice. I also used a tone-on-tone approach so the writing would be readable, but subtle enough to let the color of the heart stand out.
It was a fun project, that I think will make a big impact at our banquet! Anyone else doing any Valentines Day crafting lately?
Valentine’s Day fun for Everyone!
Ih oh! You've reached a page that is no longer valid.
Are you a Christian homemaker? I'd love to stay connected with you via email!

